and further update May 21. All resonators serviced and tuned.
Here is a quick overview of the damage to my AP8 multi band vertical antenna damage after an ice storm earlier this week. Note the new to me RCA laboratories transistor checker from my cousin Bob Balcaen in the background. I used this in the late 60's and 70's as I struggled to understand semi conductors.

Here is the manual, or a scan of it, for the AP8. Thanks to Bruce Lauer, VE3QX, for scanning his manual for me. The manuals are long out of print. it is a 3 meg file. Not sure if both pages are included, but this is the tuning and assembly instructions.

Here are some shots of it bent over. What a sorry sight, and it got worse as the day wore on. By mid day the top was 90º bent over and at 1pm it snapped. 3/4" of rime icing. The guys were nylon, 3/16' and once loaded up with ice dragged the antenna down. My 160 meter vertical in the background did just fine. High winds from the East just pushed the AP8 over. My dipoles were just fine too, as the smaller the wire, the less ice collects.


And now the disassembly of the broken section.
Turns out it is one piece of fibreglass tube for the two resonators, so the two ends can come off, but not the middle section unless I cut the fibreglass tube. Not ready to do that now. Also, the aluminum wire used for the coils is quite springy, and I doubt I will be able to hand wind it in place. I may look for some similar gauge copper magnet wire for the rebuild.
 |
| The two resonators before disassembly. The heat shrink used was still intact but all the screws holding the coil wire to the tubing were badly rusted. The tar holding the coils in place was still a little pliable after 30 some years, and stunk just like creosote treated railway ties. |
 |
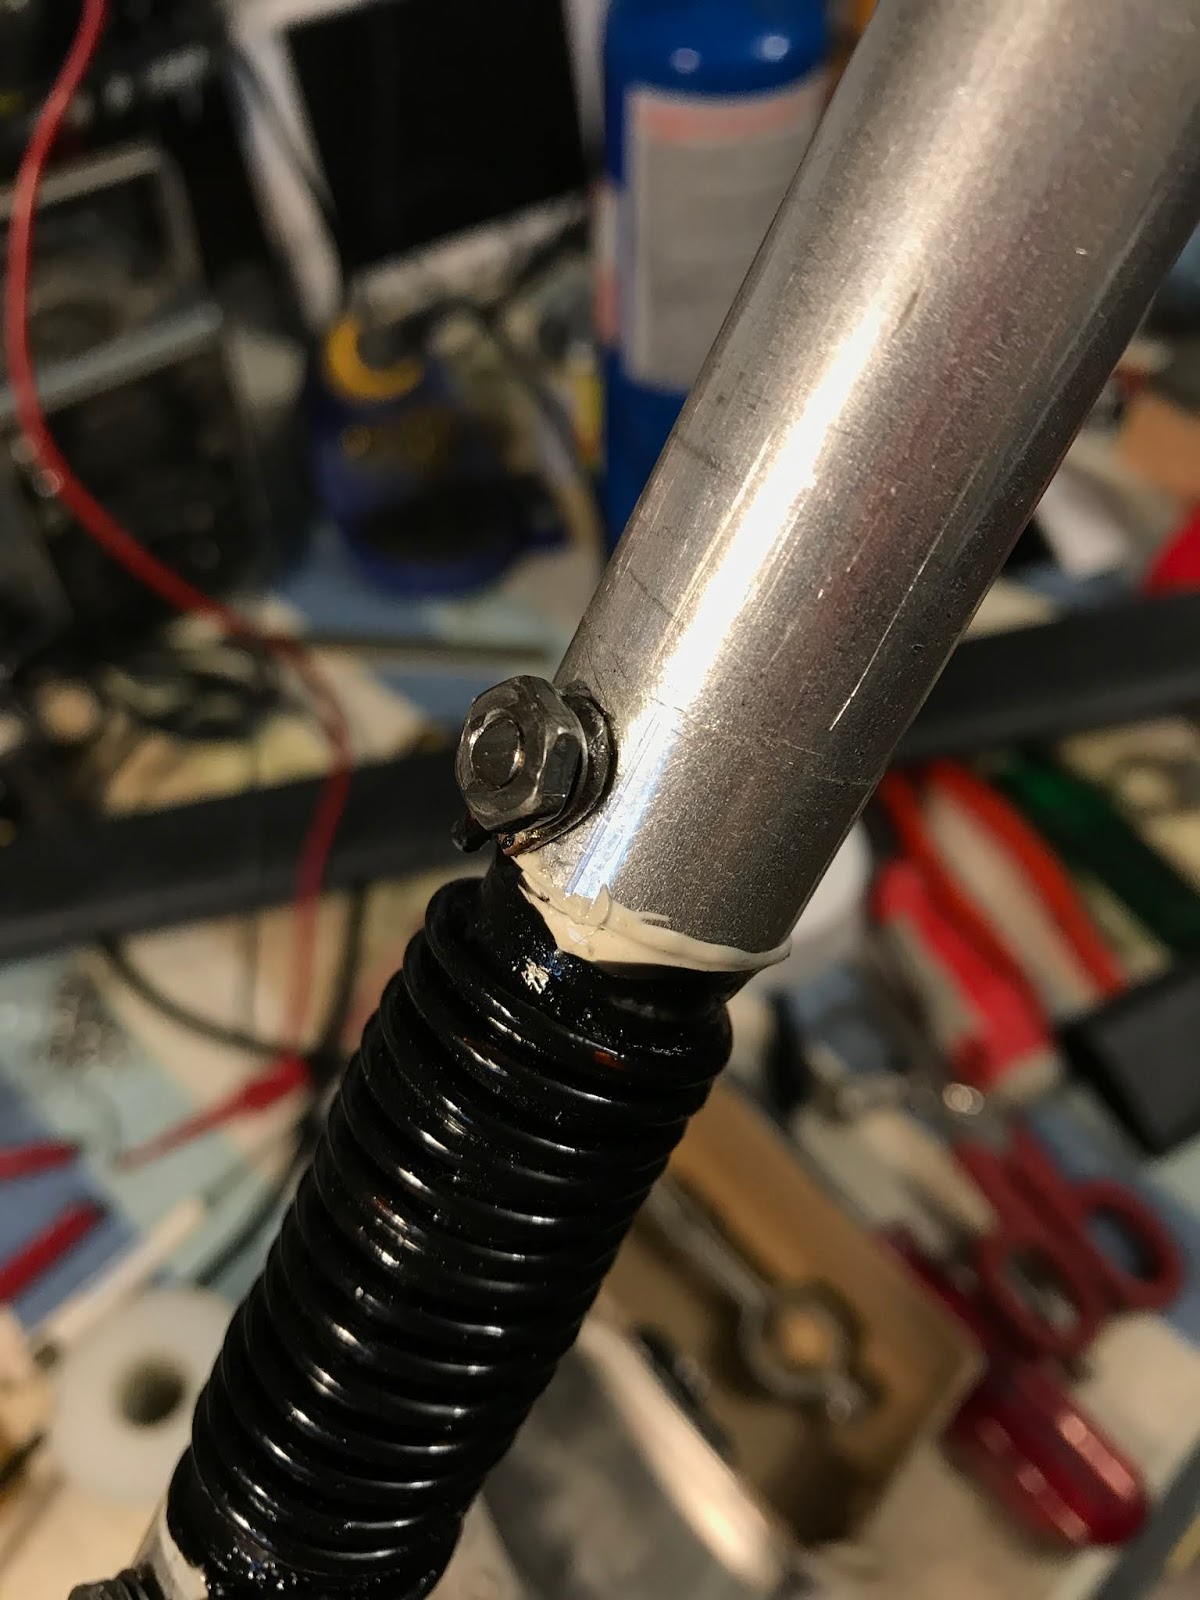
| The fibreglass tube was easily pounded out with a punch and just a light hold of the vise. |
 |
| Both the top, and bottom pipe sections removed. |
 |
| Coils removed. You can just see a bit of a swale in the section. The fibreglass failed badly.
Dimensions:
Fibreglass 0.75 inches OD
Pipe sections: .75" ID 0.88" OD
Wire: after numerous measurements I settled on 0.115"
Next steps: Measure up the rest of the pipes I want to replace or enlarge and start looking for a source for the fibreglass rod required.
|
Bob Morton of Maple Leaf Communications proved an invaluable resource in rebuilding the antenna. Aside from having all of the bits and pieces I needed IN STOCK, he recounted that designing and building the AP8 was his first job working for Cushcraft way back when. Wow! I am talking to THE authority on the AP8. One comment he made was that his initial design used heavier pipe and fibreglass but the company wanted it light and inexpensive so that was what was built. Light and inexpensive. I want to talk more about this later, but now back to the antenna repair.
As it was so badly bent over, I decided to replace what pipe I could without rebuilding all the resonators, they are SO much time and effort to build. It definitely gave me insight into the effort that went into designing and building these, and other antennas.

Here is my parts list, I had a couple of things wrong, and sorted it out later:
1 1.25" 4' tubing Swaged to 1.12" OD at top (the second tube up in the antenna)
2 1" 4' Tubing
1 0.38" 4' Tubing
1 0.88" 4' Tubing
1 0.5" 4' Tubing
8 1" Screw clamps, SS
2 1.25" Screw clamps, SS
2 1.75 Screw clamps, SS
14" 0.75 Fibreglass tubing
14" 0.5 Fibreglass tubing (to be inserted into .75 and resin added to affix)
32' #12AWG Coated magnet wire
16 ¼" Caps, vinyl tubing (should have been 3/8")
24 Suitable SS screws for compressing coil ends against tubes
1 1.25" 4' Heavy Duty Heat shrink to seal coils
1 package of suitable crimp eyelets for copper magnet wire (not needed, just bent the wire into a loop and tinned)
1 3/32 300' Dacron guy line
1 small container of suitable corrosion inhibiting goop (butter it's not?)
1 pint container(s) of suitable resin for affixing fibreglass to tubing. (ended up purchasing tubes of epoxy suitable for fibreglass from local hardware store)
I will likely coat the coils with it too.
 |
| Yes, many espressos consumed in the rebuilding of this antenna. Look, there is a spiral galaxy in my coffee! |
Then, I cut the pipe to match the old one, and glued it in place.

Drilling a 5/32" hole and using the hardware from Maple Leaf proved simple, as was winding the coils. Copper is such a treat to work with. The connections were disassembled, tinned with LEAD based solder and reassembled. Looks not too bad for an amateur!

I should have bought the 3M coating material from Maple Leaf, but the total bill for parts was rising, so I settled for a small can of Liquid Tape fromStarBrite, an American firm. Seemed to work okay.
A measurment of one of the coils. The paint on tape did not change the inductance a measurable amount.

Here is a closeup of the 10m coil. What a mess. The screws originally used were steel and corroded substantially, so badly that there were large cavities in some of the screws. I removed all of these from all of the coils (7) cleaned them up, drilled a 5/32 hole through to the other side and used the # 8 stainless steel nuts and bolts to re attach. I used a 1/4" torque wrench to tighten them all to 25 inch-lbs.

Corrosion. It became apparent that the corrosion of the screws occurred because of moisture INSIDE the antenna, not from the shrink boots leaking. When I reassemble I will study the joins and look for ways to limit the water leaking inside the tubes. I think the slats cut in the tubing that allow the clamps to work are the likely culprit. Perhaps I will heat shrink them too, or drill little "vent" holes tilted down to allow airflow if sealing the joints is not possible. More on this point later.

Cleaned up (at least the contacts) and ready for new NTE 3:1 lined heat shrink. Curiously, this heatshrink lowered the coils about 1mhz in tuning. More on that later. The 1.5 inch heat shrink was perfect for the 10 and 12m coils, but a little big for the rest of the coils. Next time (Hah!) I will order some 1.25" heatshrink for the other five coils.

The 30 m and 40m coils were of copper wire.

A finished resonator before tuning. A word of caution about working with the capacitors. If you are wanting to change the shrink tubing, as I did, use a sharp knife to cut off what you can. The polypropylene used for the dielectric melts at a low temperature. You will distort or have it fail if you get it too hot. Use just enough heat to shrink the tubing and then stop. Do not use heat to remove the tubing, as i did, as you will likely wreck the tubing, as I did. Use a knife.

I almost did not want to know what the tuning was, as it would mean changing the capacitance or even worse, changing the coil winds, which would require obvious extra effort as I had sealed them up already. The 40 and 30 meter coils were affected by the new heat shrink the most. While I did not measure it, it felt about twice as heavy as the original shrink tubing. Here is the theory of operation of the antenna, best effort. I am still wrapping my head around it, but at resonance, the antenna ABOVE the resonator is mostly excluded from the RF circuit. In essence, the L-C circuit presents a HIGH IMPEDANCE to rf current flowing through it. Below resonant frequency the L-C presents a largely inductive image on the antenna and is simply viewed as a coil of wire and becomes part of the radiating element. Above resonance, it presents a largely capacitive image to the antenna.
Obviously there was a tradeoff in the design as the L-C combination needs to both: resonate at the desired frequency and provide enough impedance (winds of coil) to work on the next lower band. The 40 meter coil pictured below was affected the most by the shrink tubing, dropping 1.5 mhz in frequency. I managed to tune it by pulling the rods out of the capacitors to about 1/3 of what they were initially inserted. We will see how it works once installed back up on the roof. If need be, I can disassemble and remove 10% of the 40m coil and retune.
Note the test lead wrapped around the centre of the coil and a 50 ohm resistor inline. I put the 50 ohm resistor in line as I didn't want to work the meter at an unusually low impedance. I have no empirical data that this makes a difference but it didn't hurt. This seemed to work well, and both my Comet and YouKits tuners worked well. The YouKits draws a little graph, so you get to see the switchover point of inductance to capacitive reaction (I think). Bob Morton's advice was "Tune a little low for the part of the band you want, then adjust the pipe lengths. "


I tuned the coils as follows:
40m 6.90 mhz (the top resonator of the antenna) (major reduction of capacitance)
30m 10.0 mhz (did not have to change capacitance)
20m 13.8 mhz (did not have to change capacitance)
17m 17.7 mhz (did not change capacitance)
15m 20.86 mhz (reduced capacitance a little)
12m 24.6 mhz (reduced capacitance a little)
10m 27.9 mhz (reduced capacitance a little) (the bottom resonator of the antenna)
I wrote the resonant frequency on each coil to ensure they get back into the correct order. My hunch is that I had the 20 and 30 meter resonators reversed and the antenna never worked at all on 10m, and not so much on 20m. Perhaps it will be different after all this work.
The dual coils both show up on the antenna analyzer so much so that it is hard to tell which resonator you are adjusting. Bob Morton suggested running a short jumper lead across the L-C circuit you are not using to dampen it. This helped a lot. The pipe on the end of the L-C also changes the tuning a bit so this ended up being a best effort. I will find out how close I got once installed and operational.


At this point in time, all the pieces are scattered around my shop. I need to prepare the tubing and put back up on the roof, maybe moving it a few feet to the east. I have new guy line, and am hoping it will not stretch as much as the old.


No comments:
Post a Comment
Note: only a member of this blog may post a comment.